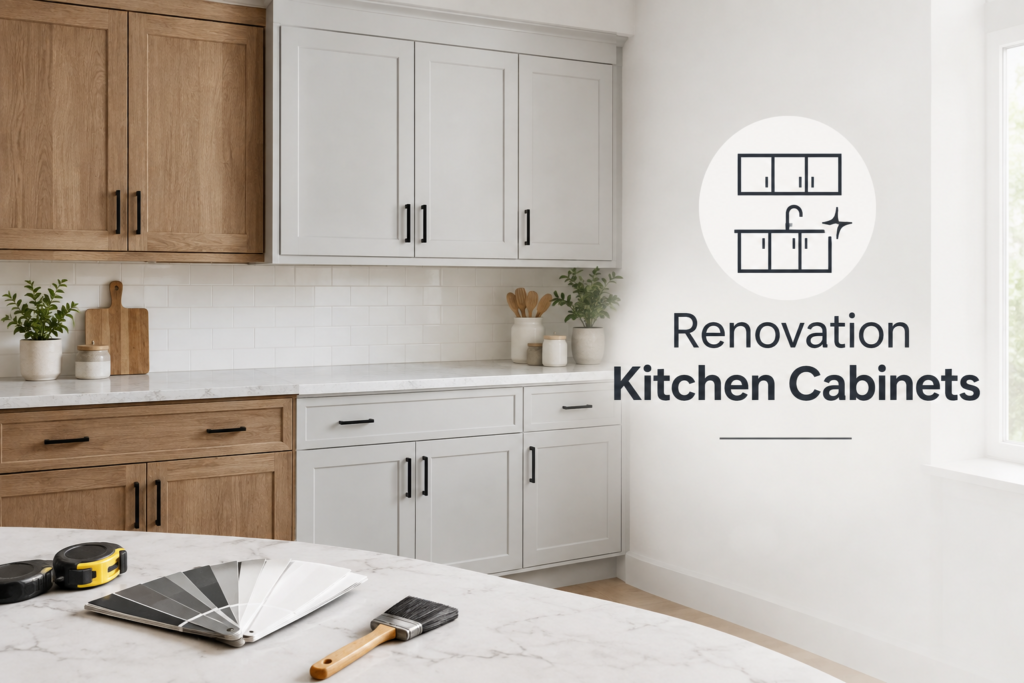
Renovating kitchen cabinets without replacing them is one of the smartest ways to change the look of a kitchen while keeping the project manageable. If the cabinet boxes are still sturdy, you can update the doors, finish, hardware, storage and small details for a fraction of the disruption that comes with a full tear-out.
The key is choosing the right level of renovation. Some cabinets only need a deep clean and new pulls. Others need sanding, paint, refacing or repairs before they look fresh again. This guide walks you through a practical process so you can decide what to keep, what to change and how to get a durable result. If you are planning a renovation kitchen cabinets project, start by checking the condition of the cabinet boxes, doors, hardware and finish before choosing your renovation method.
First, Decide Whether Your Cabinets Are Worth Renovating
Before buying paint or hardware, inspect the cabinets carefully. A cosmetic makeover works best when the renovation kitchen cabinets boxes are square, firmly attached to the wall and free from major water damage. Doors can be replaced, hinges can be upgraded and finishes can be renewed, but a weak cabinet frame may not be worth saving.
Open every door and drawer. Look for swelling around the sink base, soft spots near the floor, cracked face frames, loose shelves and warped drawer boxes. A little wear is normal. Large areas of rot, mold, deep water damage or cabinets pulling away from the wall are bigger concerns.
Use this quick table to decide whether renovation makes sense.
| Cabinet condition | Renovate or replace? | Best next step |
|---|---|---|
| Solid boxes with dated color | Renovate | Paint, stain, reface or update hardware |
| Greasy finish but no structural damage | Renovate | Deep clean, sand lightly and refinish |
| Worn doors but strong cabinet boxes | Renovate | Replace doors or reface fronts |
| Loose hinges and drawer slides | Renovate | Upgrade hardware and adjust doors |
| Swollen particleboard or active mold | Replace affected sections | Fix moisture source first |
| Poor layout that limits function every day | Consider partial replacement | Redesign problem areas only |
A renovation of renovation kitchen cabinets should improve both appearance and daily function. If you love the layout but hate the look, renovating is usually a strong option. If the layout is the real problem, combine cabinet updates with targeted storage changes rather than spending your entire budget on the surface finish.
Choose the Right Cabinet Renovation Method

There is no single best way to renovate kitchen cabinets without replacing them. The right method depends on the renovation kitchen cabinets material, your budget, the condition of the finish and the look you want.
A good renovation kitchen cabinets update follows the same basic logic as smart engineering solutions: define the problem, improve safety and usability first, then refine the final appearance. In a kitchen, that means fixing loose doors, sticky drawers and awkward storage before choosing the perfect shade of white or green.
| Renovation method | Best for | Difficulty | What it changes |
|---|---|---|---|
| Deep cleaning and polishing | Wood cabinets with dull finish | Easy | Removes grease and restores some shine |
| Painting | Dated colors, laminate or wood doors | Medium | Completely changes the cabinet color |
| Staining | Real wood cabinets in good condition | Medium to hard | Enhances or deepens natural wood grain |
| Refacing | Strong boxes with unattractive fronts | Medium to hard | Updates doors, drawer fronts and exposed surfaces |
| New hardware | Cabinets that feel dated but still look decent | Easy | Changes style with pulls, knobs and hinges |
| Trim and molding | Plain builder-grade cabinets | Medium | Adds custom detail and height |
| Interior storage upgrades | Cluttered or inefficient cabinets | Easy to medium | Improves everyday function |
If you are leaning toward a front-facing makeover, compare materials and price ranges before committing. Kitchen Campaign has a dedicated guide to refacing kitchen cabinets cost that can help you decide whether refacing fits your budget.
Gather the Right Tools and Supplies
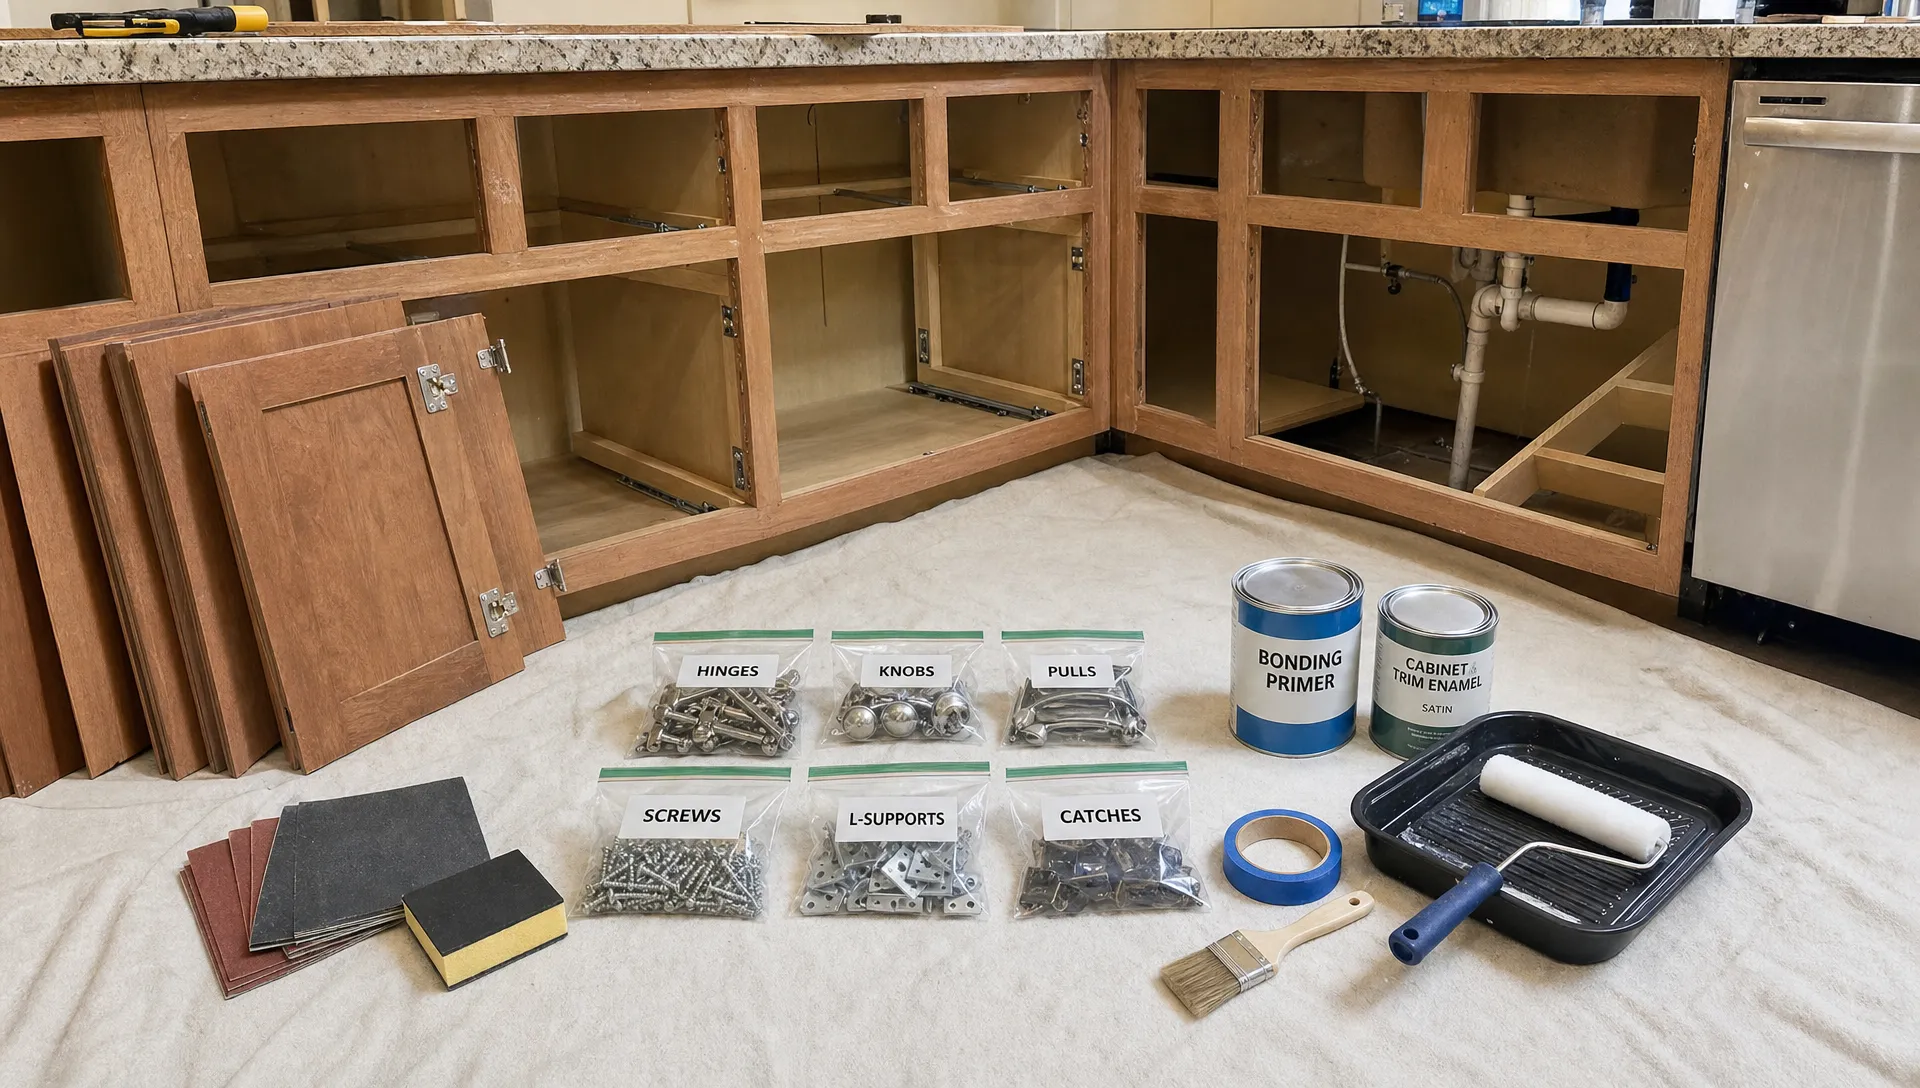
Your exact supply list depends on the finish you choose, but most renovation kitchen cabinets use the same basic preparation tools. Good prep products matter more than expensive decorative details because cabinet doors are touched every day.
For most projects, you will need:
- Screwdriver or drill for removing doors and hardware
- Painter’s tape and labels for marking doors and drawers
- Degreasing cleaner, mild dish soap and microfiber cloths
- Wood filler or putty for dents and old hardware holes
- Sandpaper or sanding sponges in medium and fine grits
- Tack cloth or vacuum for dust removal
- Primer suited to your cabinet material
- Cabinet-grade paint, stain, clear coat or veneer
- New knobs, pulls, hinges or drawer slides if needed
If your cabinets are especially greasy, start with cleaning before any sanding. Sanding dirty cabinets can push oils into the surface and create adhesion problems later. For a more detailed cleaning routine, use this guide on how to clean kitchen cabinets before beginning the renovation work.
Step 1: Remove, Label and Protect Everything
Take off all cabinet doors, drawer fronts and hardware. Label each piece with painter’s tape so it goes back in the same location. Even cabinets that look identical can have small alignment differences, especially in older kitchens.
Use a simple code such as U1 for the first upper cabinet door, U2 for the next upper door and L1 for the first lower cabinet door. Place screws and hinges in labeled bags. This small step prevents frustration when it is time to reinstall everything.
Protect countertops, floors, appliances and nearby walls. renovation kitchen cabinets creates dust, drips and clutter, even when the project is carefully planned. A clean workspace makes the final finish look better.
Step 2: Clean Away Grease and Residue
Kitchen cabinets collect more residue than most people realize. Cooking oils, steam, fingerprints and cleaning product buildup can stop primer or stain from bonding properly. This is why renovation kitchen cabinets paint sometimes peels even when the color looks beautiful at first.
Wash all surfaces with a cabinet-safe degreaser or warm water with mild dish soap. Pay special attention to areas around handles, the range, the sink and trash pull-outs. Rinse with a damp cloth and let the cabinets dry fully before sanding or filling.
For wood cabinets, avoid soaking the surface. Water can seep into seams and raise the grain. A damp cloth is usually enough. If you find sticky residue, clean it gradually instead of scraping aggressively and damaging the finish.
Step 3: Repair Damage Before Refinishing
Small flaws become more obvious after painting or staining, so repair them early. Tighten loose screws, fill dents and patch old hardware holes if your new pulls need a different spacing.
Use wood filler for solid wood and a compatible filler for MDF or painted surfaces. Let repairs dry fully, then sand until smooth. If doors have peeling veneer, glue it down with wood adhesive and clamp it flat. If veneer is missing or badly bubbled, refacing or door replacement may look cleaner than patching.
Check the cabinet boxes too. Secure loose shelves, reinforce weak drawer bottoms and replace damaged toe kicks if needed. A cabinet renovation should not only look good in photos. It should hold up to breakfast rushes, dinner prep and daily cleaning.
Step 4: Sand or Degloss for Better Adhesion
Sanding is not always about removing the old finish. Often, the goal is to dull the surface so primer, paint or stain can grip. Glossy cabinets need sanding or a liquid deglosser before refinishing.
Use medium grit sandpaper for rough areas and fine grit for smoothing. Sand with the grain on wood surfaces. Do not over sand laminate or thin veneer, since you can damage the top layer quickly. After sanding, vacuum dust from corners and wipe with a tack cloth.
If your cabinets have detailed profiles, sanding sponges work well because they bend into grooves. Take your time on door edges and corners, since these spots see the most wear after the renovation.
Step 5: Choose Your Finish: Paint, Stain or Reface
Paint is the most flexible option. It works well when you want a dramatic color change, a cleaner modern look or a consistent finish across mismatched wood tones. Choose a durable cabinet paint rather than standard wall paint. Cabinet doors need a harder finish that can resist fingerprints, moisture and repeated wiping.
Stain is best for real wood cabinets with attractive grain. It can warm up pale wood, deepen an orange finish or create a richer traditional look. Staining usually requires more stripping and sanding than painting because the old finish must be removed evenly.
Refacing is the most complete cabinet renovation without replacing the boxes. It usually includes new doors and drawer fronts, plus veneer or matching panels on visible cabinet frames. This is a good choice when the old doors are damaged, overly dated or not worth refinishing.
Step 6: Apply Primer and Finish in Thin Coats
If you are painting, primer is usually worth the extra time. It helps block stains, improves adhesion and creates a more even color. This matters most on dark wood, glossy finishes, laminate and cabinets with knots or tannins.
Apply thin coats rather than trying to cover everything at once. Thick coats can drip, leave brush marks and take longer to cure. Let each coat dry according to the product instructions, then sand lightly between coats if the finish feels rough.
A brush works well for corners and profiles, while a small foam roller can create a smoother finish on flat areas. Spraying can look professional, but it requires more setup, ventilation and practice. For many DIY homeowners, a careful brush and roller method is more realistic.
Curing time is different from drying time. Cabinets may feel dry within hours but remain soft for days. Be gentle when reinstalling doors and avoid heavy scrubbing until the finish has fully cured.
Step 7: Upgrade Hardware, Hinges and Drawer Slides
Hardware has an outsized effect on cabinet style. Swapping dated knobs for simple bar pulls, cup pulls or matte black hardware can make older cabinets feel current. Measure carefully before buying, especially if you want to reuse existing holes.
If old hinges are visible and worn, replacing them can clean up the look. Soft-close hinges and drawer slides can also make cabinets feel newer, even when the cabinet boxes are original. Make sure new hardware fits the door type, overlay and frame style.
This is also the time to adjust door alignment. Uneven gaps can make newly painted cabinets look sloppy. Most modern hinges have small adjustment screws that move doors up, down, left, right or closer to the frame.
Step 8: Add Trim, Molding or End Panels
Plain renovation kitchen cabinets can look more custom with a few architectural details. Crown molding at the top of upper cabinets can make the kitchen feel taller. Light rail molding under upper cabinets can hide under-cabinet lighting. New end panels can cover exposed cabinet sides that look unfinished or worn.
You can also add simple shaker-style trim to flat slab doors if the doors are sturdy and smooth. This works best when the added trim is carefully measured, glued, nailed and caulked before painting.
Keep proportions in mind. Oversized molding on short renovation kitchen cabinets can feel heavy, while very thin trim on large doors may look like an afterthought. Match the style to the rest of the kitchen so the cabinets feel intentional.
Step 9: Improve Storage While the Cabinets Are Empty
One advantage of renovation kitchen cabinets is that everything comes out. Use that moment to rethink how your cabinets work. A beautiful finish is helpful, but better storage changes how the kitchen feels every day.
Add pull-out shelves to deep lower cabinets, drawer organizers for utensils, tray dividers for baking sheets and shelf risers for dishes. Under-sink organizers can make cleaning supplies easier to reach, while lazy Susans or blind-corner pull-outs can rescue awkward corner cabinets.
If clutter is one of your main frustrations, focus on function before decoration. Kitchen Campaign’s guide on how to customize kitchen cabinets offers more storage ideas you can use without a full remodel.
Step 10: Reinstall Carefully and Finish the Details
Once the finish has dried enough to handle, reinstall doors and drawer fronts using your labels. Work slowly and avoid overtightening screws, especially in older wood or MDF. Reattach hardware after the finish is stable so the pulls do not leave marks.
Check every door and drawer. Adjust gaps, tighten hinges and add bumpers where doors meet frames. Clean up paint lines, caulk small gaps where trim meets renovation kitchen cabinets boxes and touch up any scuffs from installation.
Finally, step back and view the kitchen in natural light and evening light. Cabinet colors can look different throughout the day. Small touch-ups are normal, especially on edges, corners and around hardware.
Common Mistakes to Avoid
Cabinet renovation is very doable, but most poor results come from rushing the preparation. Avoid these mistakes if you want the finish to last.
- Painting over grease or residue
- Skipping primer on glossy, dark or stained cabinets
- Forgetting to label doors and hardware
- Using wall paint instead of cabinet-grade paint
- Reinstalling doors before the finish has cured
- Choosing pulls without checking hole spacing
- Ignoring drawer slides, hinges and alignment
The best cabinet makeovers often look simple because the prep work was done carefully. Clean surfaces, smooth repairs, thin coats and aligned doors make the difference between a quick refresh and a renovation that looks polished.
Bring Your Cabinet Renovation Together

Renovating kitchen cabinets without replacing them works best when you treat the project as a complete refresh, not just a color change. Start with structure, cleaning and repairs. Then choose the finish, hardware and storage upgrades that support the way you actually use your kitchen.
For more practical kitchen design ideas, storage inspiration and budget-friendly makeover guidance, explore Kitchen Campaign and plan a cabinet renovation that feels fresh, functional and built for everyday life. A successful renovation kitchen cabinets project works best when you treat the update as a complete refresh rather than just a color change.
Conclusion
A renovation kitchen cabinets project can give your kitchen a fresh, updated look without the cost and disruption of replacing the entire cabinetry. Start by checking the cabinet boxes, repairing any damage, and thoroughly cleaning the surfaces before choosing paint, stain, refacing, or new hardware.
The best results come from combining appearance with function. Upgrade hinges, drawer slides, storage solutions, and trim where they make sense, and take your time with preparation and finishing. With the right approach, renovation kitchen cabinets can create a more attractive, practical, and durable kitchen while making the most of your existing cabinets.
FAQ’S…
What is the best way to refurbish kitchen cabinets?
The best renovation kitchen cabinets approach depends on their condition. Start by cleaning and repairing the cabinets, then choose painting, staining, refacing, or new hardware. If the cabinet boxes are structurally sound, a focused renovation can improve their appearance and function without replacing the entire kitchen.
What is the newest trend for kitchen cabinets?
Current cabinet trends favor clean, timeless designs, durable finishes, natural wood tones, and practical storage. During a renovation kitchen cabinets project, consider updated hardware, simple door styles, improved organizers, and finishes that complement the rest of your kitchen.
How can I modernize my old kitchen cabinets?
You can modernize old cabinets by cleaning, repainting, replacing outdated hardware, upgrading hinges, adding trim, and improving interior storage. A renovation kitchen cabinets project can also include new doors or drawer fronts while keeping the existing cabinet boxes.
What is the cheapest way to upgrade kitchen cabinets?
The cheapest upgrades usually include deep cleaning, changing knobs or pulls, adjusting hinges, and adding simple organizers. For a budget-friendly renovation kitchen cabinets project, focus on changes that improve appearance and function without replacing the cabinet boxes.
What is the new look for kitchens in 2026?
Kitchen styles in 2026 emphasize practical layouts, clean cabinet designs, natural-looking materials, functional storage, and personalized details. A renovation kitchen cabinets project can incorporate these ideas through updated finishes, modern hardware, improved organization, and subtle decorative details.