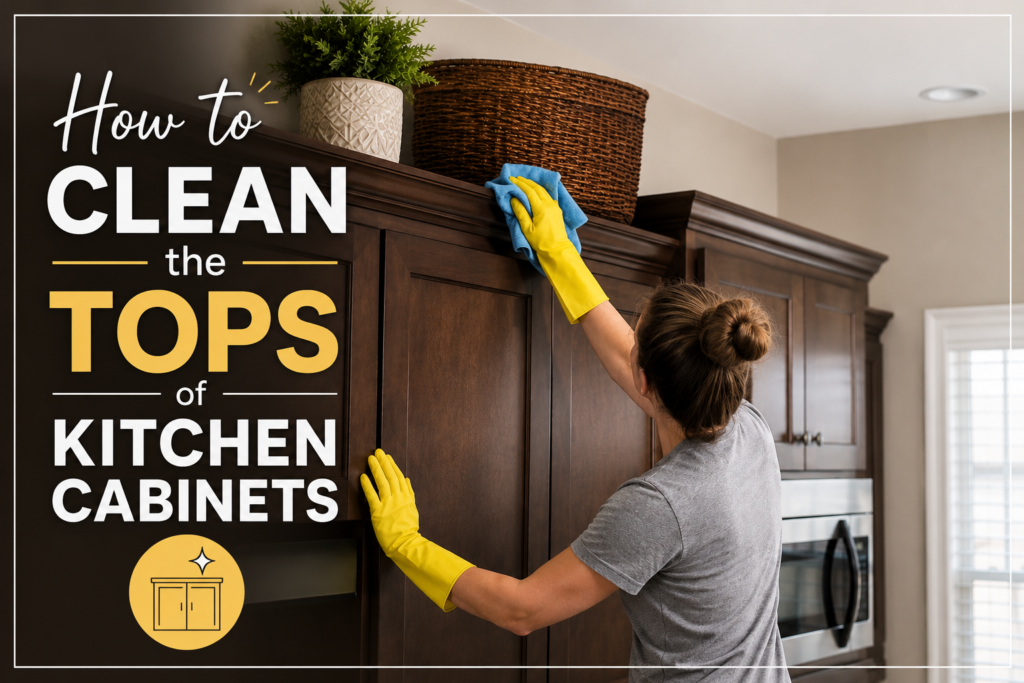
Kitchen cabinets are one of the most noticeable features in any kitchen, but there’s one area many homeowners rarely think about—the top of the cabinets. If your cabinets don’t reach the ceiling, those hidden surfaces quietly collect grease, dust, cooking oils, and airborne debris every single day. Because they’re out of sight, they often become one of the dirtiest places in the kitchen.
The good news is that learning How to Clean the Tops of Kitchen Cabinets isn’t difficult. With the right cleaning method, a few everyday household supplies, and regular maintenance, you can safely remove sticky grime without damaging your cabinet finish. Better yet, a few simple prevention tips can keep cabinet tops cleaner for months at a time.
Whether your cabinets are made of wood, laminate, painted MDF, or thermofoil, this complete guide explains How to Clean the Tops of Kitchen Cabinets step by step, remove stubborn grease, prevent future buildup, and keep your entire kitchen looking cleaner and healthier.
Why Learning How to Clean the Tops of Kitchen Cabinets Matters
Most people regularly wipe their countertops, sink, stovetop, and cabinet doors. However, the tops of kitchen cabinets are easy to forget because they aren’t visible during everyday cooking.
Every time you fry food, sauté vegetables, or boil water, tiny grease particles become airborne. These microscopic droplets naturally rise with warm air before settling on horizontal surfaces—especially the tops of cabinets. Over time, dust sticks to this greasy film, creating the thick, sticky layer many homeowners eventually discover during spring cleaning.
I remember helping my aunt prepare her kitchen before hosting a large family dinner. We cleaned the counters, polished the appliances, and wiped every cabinet door. Just before finishing, she climbed onto a step stool to dust the cabinet tops.
We couldn’t believe what we found.
The cabinet tops weren’t just dusty—they were covered with months of sticky grease mixed with cooking residue. After a little patience, warm soapy water, and a microfiber cloth, the surfaces looked almost brand new.
That experience perfectly demonstrates why understanding How to Clean the Tops of Kitchen Cabinets can make such a noticeable difference throughout your kitchen.
Regular cleaning helps you:
- Remove sticky grease buildup before it hardens.
- Prevent dust from bonding with cooking oils.
- Improve overall kitchen hygiene.
- Reduce unpleasant cooking odors trapped in grease.
- Protect your cabinet finish from long-term buildup.
- Make future cleaning much easier.
- Extend the lifespan of your cabinetry.
The best part is that once you establish a simple maintenance routine, cleaning cabinet tops only takes a few minutes every few months.
What Causes Grease to Build Up on the Tops of Kitchen Cabinets?
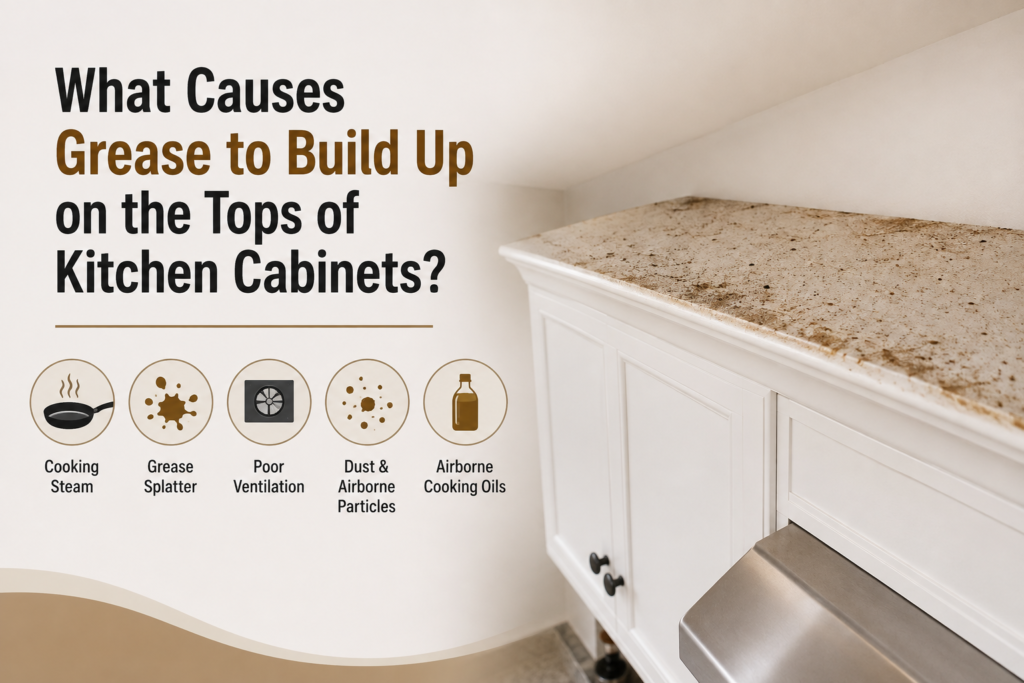
Many homeowners wonder why cabinet tops become so dirty when nobody ever touches them.
The answer lies in how cooking affects the air inside your kitchen.
Whenever you:
- Fry food
- Sauté vegetables
- Grill meat
- Boil pasta
- Deep fry
- Cook with oils or butter
tiny droplets of oil become suspended in the air.
As warm air rises, these particles travel upward until they settle on elevated flat surfaces. Cabinet tops become the perfect landing spot because they usually remain untouched for weeks—or even months.
Humidity makes the problem even worse.
Moisture combines with airborne grease, creating a sticky film that traps:
- Dust
- Pet hair
- Cooking residue
- Lint
- Dirt particles
Eventually, this mixture forms the thick grime many people mistake for ordinary dust.
What You’ll Need Before You Clean the Tops of Kitchen Cabinets
One of the biggest myths about How to Clean the Tops of Kitchen Cabinets is that you need expensive specialty cleaners.
Fortunately, most greasy cabinet tops can be cleaned using supplies you probably already have at home.
Essential Cleaning Supplies
Before you begin, gather:
- Warm water
- Mild dish soap
- Microfiber cloths
- Soft sponge
- Bucket
- Spray bottle
- Dry towel
- Step stool or stable ladder
- Soft toothbrush
- Vacuum with brush attachment (optional)
These basic tools safely clean most cabinet finishes without scratching or damaging the surface.
Optional Products for Heavy Grease Buildup
If your cabinet tops haven’t been cleaned in a long time, these additional products can make the job easier:
- Baking soda
- White vinegar
- Cabinet-safe degreaser
- Citrus-based cleaner approved for finished cabinets
- Plastic scraper
- Soft nylon brush
Always test any commercial cleaner on an inconspicuous area before applying it to the entire cabinet.
What NOT to Use When Cleaning the Tops of Kitchen Cabinets
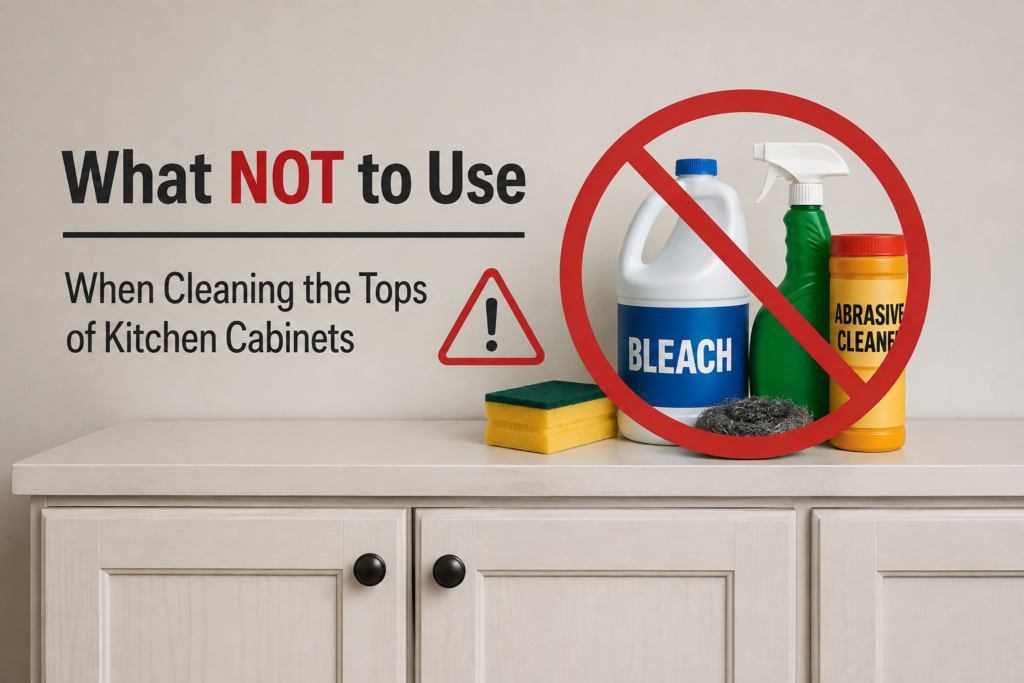
Understanding what to avoid is just as important as knowing How to Clean the Tops of Kitchen Cabinets properly.
Avoid using:
- Steel wool
- Abrasive scrub pads
- Harsh degreasers
- Bleach
- Ammonia
- Strong solvents
- Steam cleaners
- Excessive water
- Metal scrapers
These products may scratch the finish, weaken adhesives, discolor painted cabinets, or cause moisture damage.
When in doubt, always start with the gentlest cleaning method first.
How to Prepare Before Cleaning the Tops of Kitchen Cabinets
A little preparation makes the cleaning process safer, faster, and much more effective.
Step 1: Clear the Area Below
Before climbing onto a ladder or stool:
- Move small appliances.
- Cover countertops with towels.
- Remove decorative items.
- Protect the floor if necessary.
This catches any falling dust or greasy cabinets residue.
Step 2: Use a Safe Ladder or Step Stool
Because cabinet tops are high above eye level, safety comes first.
Always:
- Use a sturdy step stool.
- Place it on a flat surface.
- Maintain three points of contact while climbing.
- Never overreach.
Instead, reposition the stool as you move across the kitchen.
Step 3: Remove Loose Dust First
One of the biggest mistakes people make while learning How to Clean the Tops of Kitchen Cabinets is spraying cleaner directly onto dusty surfaces.
Instead:
- Use a vacuum with a brush attachment or
- Wipe with a dry microfiber cloth
Removing loose debris first prevents dust from turning into muddy streaks when moisture is added.
Pay special attention to:
- Corners
- Crown molding
- Decorative trim
- Cabinet edges
Step 4: Prepare a Gentle Cleaning Solution
For routine cleaning, mix:
- Warm water
- A few drops of mild dish soap
Stir gently until mixed.
This simple solution safely removes most grease without damaging cabinet finishes.
You don’t need excessive soap.
Using too much detergent often leaves behind residue that requires additional rinsing.
Why Gentle Cleaning Works Better Than Heavy Scrubbing
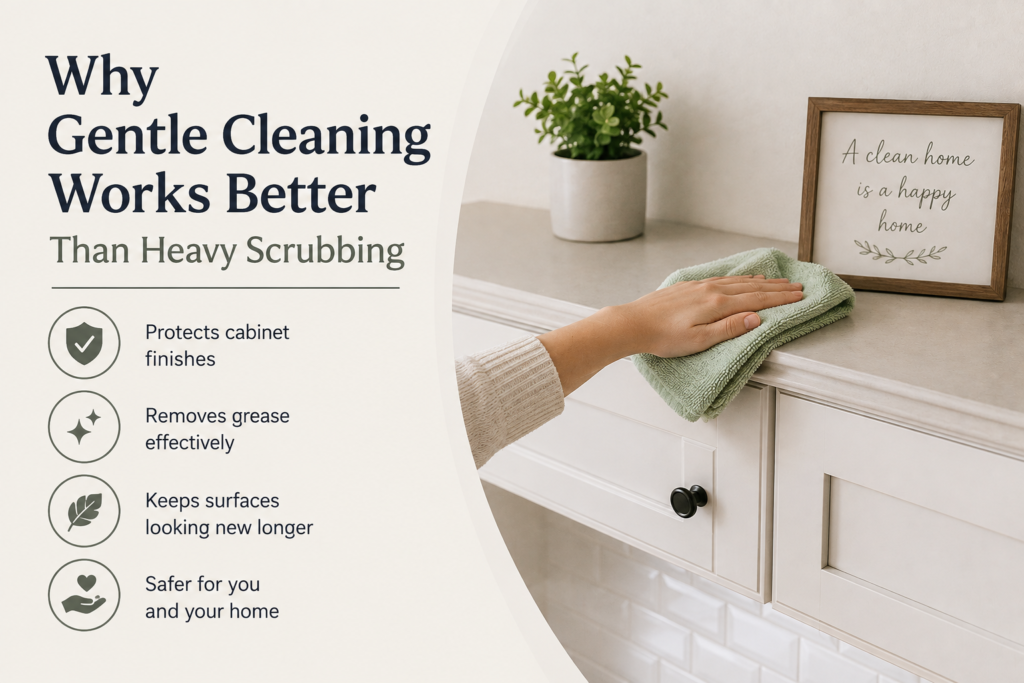
When people learn to How to Clean the Tops of Kitchen Cabinets discover thick grease on cabinet tops, their first instinct is often to scrub as hard as possible.
Unfortunately, aggressive scrubbing can:
- Scratch painted finishes.
- Damage laminate surfaces.
- Remove protective coatings.
- Wear away wood finishes.
The secret is allowing the cleaning solution enough time to loosen grease naturally.
Patience usually works better than force.
Instead of scrubbing immediately, dampen the greasy surface and let the solution sit for a few minutes before wiping. This simple step makes removing stubborn residue much easier while protecting your cabinets.
Step-by-Step: How to Clean the Tops of Kitchen Cabinets
Now that you’ve prepared the area and gathered your cleaning supplies, it’s time to learn How to Clean the Tops of Kitchen Cabinets the right way. Instead of scrubbing aggressively, use gentle cleaning methods that loosen grease while protecting your cabinet finish.
Whether you’re dealing with a light layer of dust or years of sticky grime, following these steps will help you achieve the best results.
Step 1: Vacuum or Dust the Cabinet Tops First
Before using any cleaning solution, remove loose dirt and debris.
Use either:
- A vacuum with a soft brush attachment
- A dry microfiber cloth
- A soft duster
Focus on removing:
- Dust
- Cobwebs
- Pet hair
- Food crumbs
- Loose debris
Skipping this step causes dust to mix with water, creating muddy streaks that are harder to remove.
Pro Tip: Start at one end of the cabinets and work across the kitchen instead of jumping from one section to another.
Step 2: Apply a Gentle Cleaning Solution
The safest cleaning solution for most cabinet finishes is simple.
Mix:
- 2–3 drops of mild dish soap
- Warm water
Fill a spray bottle or dip a microfiber cloth into the solution.
Avoid spraying excessive liquid directly onto the cabinet tops.
Instead:
- Spray the cloth or
- Apply only enough cleaner to dampen the surface.
Too much water can seep into cabinet joints and unfinished edges.
Step 3: Let the Cleaner Loosen the Grease
One of the biggest mistakes homeowners make when learning How to Clean the Tops of Kitchen Cabinets is wiping immediately.
Instead:
- Apply the cleaning solution.
- Let it sit for 2–5 minutes.
This gives the soap time to dissolve sticky grease.
Once the grease softens, wipe gently using circular motions.
You’ll remove far more dirt with much less effort.
Step 4: Wipe Away the Grease
Using a clean microfiber cloth:
- Wipe slowly.
- Apply light pressure.
- Fold the cloth frequently.
- Replace dirty cloths as needed.
If grease remains:
Repeat the cleaning process instead of scrubbing harder.
Several gentle cleanings are safer than one aggressive cleaning.
Step 5: Clean the Corners and Edges
Learning How to Clean the Tops of Kitchen Cabinets tops often have grease hiding in:
- Corners
- Crown molding
- Decorative trim
- Cabinet joints
These tight spaces collect far more grease than flat surfaces.
Use:
- A soft toothbrush
- Nylon detailing brush
Dip it into the cleaning solution and gently scrub small areas before wiping them clean.
Step 6: Rinse Away Soap Residue
After removing the grease:
Use another clean cloth dampened with fresh water.
Wipe every cabinet top again.
This removes leftover soap residue that could attract new dust.
How to Prevent Grease Buildup on the Tops of Kitchen Cabinets
Learning How to Clean the Tops of Kitchen Cabinets is only half the job. The real secret is preventing thick grease and dust from building up in the first place. A few simple habits can save you hours of scrubbing and keep your kitchen looking cleaner year-round.
1. Always Turn On Your Range Hood While Cooking
One of the easiest ways to reduce grease buildup is to use your range hood every time you cook.
Whether you’re:
- Frying food
- Sautéing vegetables
- Boiling water
- Cooking with oil
your vent hood captures much of the airborne grease before it settles on cabinet tops.
Even running the hood for 10–15 minutes after cooking can significantly reduce grease accumulation.
2. Wipe Cabinet Tops Every Few Weeks
Many homeowners only clean cabinet tops during spring cleaning.
Instead, make it part of your regular cleaning schedule.
Simply:
- Dust with a microfiber cloth
- Wipe using warm water and mild dish soap
- Dry thoroughly
A five-minute cleaning every few weeks prevents months of stubborn buildup.
3. Cover Pots While Cooking
Open pots allow grease and steam to spread throughout the kitchen.
Using:
- Pot lids
- Splatter screens
helps keep cooking oils inside the cookware instead of on your cabinets.
This simple habit dramatically reduces airborne grease.
4. Cook at Moderate Temperatures
Very high heat causes oil to splatter more aggressively.
Whenever possible:
- Cook over medium heat.
- Avoid overheating cooking oil.
- Reduce unnecessary smoke.
Less airborne grease means cleaner cabinet tops.
5. Clean Spills Immediately
Although cabinet tops aren’t touched often, nearby splashes from sauces or cooking oils sometimes reach upper cabinets.
Whenever you notice fresh grease:
- Wipe immediately.
- Use a damp microfiber cloth.
- Dry afterward.
Fresh grease removes much easier than hardened residue.
The Wax Paper Trick for Cleaner Cabinet Tops
One of the smartest tricks after learning How to Clean the Tops of Kitchen Cabinets is preventing grease from sticking again.
After cleaning:
Lay sheets of wax paper across the cabinet tops.
Why it works:
- Dust settles on the wax paper instead of the cabinet.
- Grease sticks to the paper.
- Replacement takes only minutes.
Every 4–6 months:
- Remove the old wax paper.
- Throw it away.
- Replace with fresh sheets.
Instead of scrubbing cabinet tops again, you’ll simply replace the liner.
The Paper Bag Method: An Easy Alternative
If you don’t have wax paper, paper grocery bags work surprisingly well.
This clever method has been used by homeowners for years because it’s inexpensive, eco-friendly, and easy to replace.
How to Use Paper Bags
- Open a paper grocery bag.
- Cut along the sides to create flat sheets.
- Trim the paper to fit your cabinet tops.
- Lay the paper flat across the surface.
- Save leftover pieces for corners or oddly shaped areas.
Every few months:
- Remove the greasy paper.
- Recycle it.
- Replace it with fresh paper.
This simple trick prevents grease from sticking directly to your cabinet finish and makes future cleaning much easier.
How Often Should You Clean the Tops of Kitchen Cabinets?
A regular cleaning schedule prevents heavy grease buildup and keeps your kitchen looking its best.
| Cleaning Task | Recommended Frequency |
|---|---|
| Dust cabinet tops | Every 2–4 weeks |
| Wipe light grease | Monthly |
| Clean around crown molding | Every 2–3 months |
| Deep clean cabinet tops | Every 3–6 months |
| Replace wax paper or paper liners | Every 4–6 months |
Following this routine makes How to Clean the Tops of Kitchen Cabinets much easier because grease never has a chance to harden.
Best Products for Cleaning the Tops of Kitchen Cabinets
Using the right cleaning supplies helps remove grease safely while protecting cabinet finishes.
Microfiber Cloth
A microfiber cloth traps grease and dust without scratching wood, laminate, or painted cabinets.
Best for:
- Dusting
- Daily cleaning
- Drying
- Buffing
Mild Dish Soap
A few drops of mild dish soap mixed with warm water remain one of the safest cleaning solutions for most cabinet materials.
Ideal for:
- Wood cabinets
- Painted cabinets
- Laminate cabinets
- Thermofoil cabinets
Baking Soda
A gentle baking soda paste helps remove stubborn grease without damaging most cabinet finishes.
Always use light pressure.
White Vinegar
Diluted white vinegar works well for light grease and fingerprints.
Always test it on a hidden area before cleaning the entire surface.
Cabinet-Safe Degreaser
For thick grease that has built up over many months, choose a cabinet-safe degreaser specifically designed for finished cabinetry.
Avoid industrial-strength cleaners that may strip protective finishes.
Common Mistakes That Make Cabinet Tops Dirtier
Even after learning How to Clean the Tops of Kitchen Cabinets,and Laminate Kitchen Cabinets some cleaning habits can actually make the problem worse.
Avoid these mistakes:
- Waiting years before cleaning
- Spraying excessive water directly onto cabinet tops
- Using abrasive scrub pads
- Ignoring the range hood while cooking
- Leaving cabinet tops wet
- Using bleach or ammonia
- Forgetting to dust before washing
- Skipping regular maintenance
Small, consistent cleaning sessions are much more effective than one major deep clean every few years.
Signs the Tops of Your Kitchen Cabinets Need Immediate Cleaning
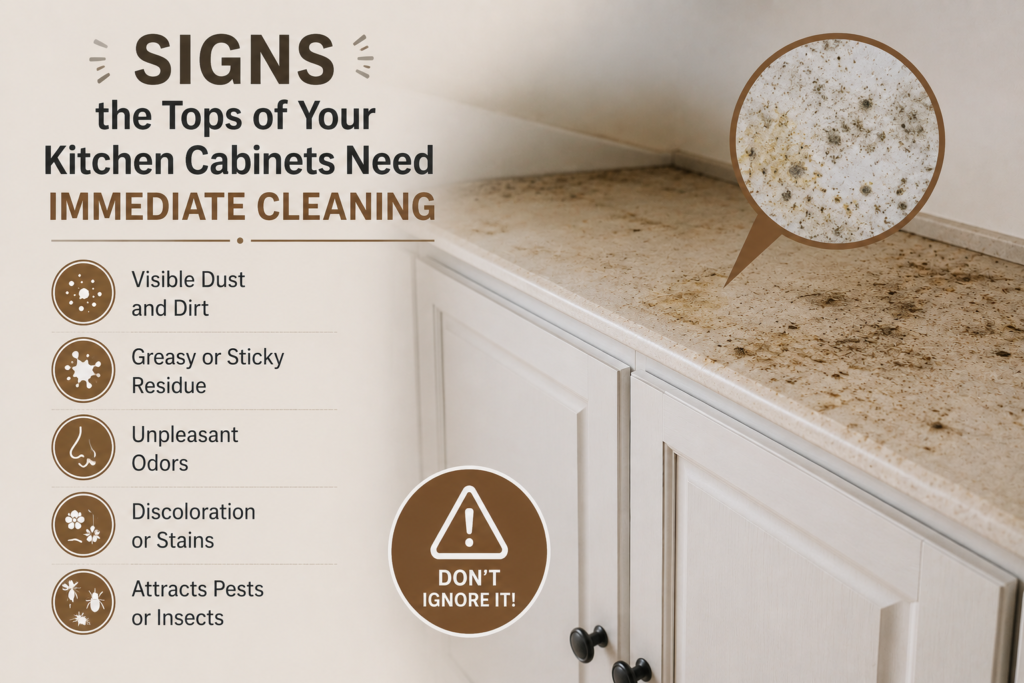
Sometimes cabinet tops become so dirty that cleaning shouldn’t be delayed.
Look for these signs:
- Sticky residue when touched
- Thick layers of dust
- Yellow or brown grease stains
- Cobwebs in corners
- Unpleasant cooking odors
- Grease dripping down cabinet sides
- Dark buildup around crown molding
If you notice several of these signs, it’s time to perform a thorough deep clean.
Final Thoughts
Learning How to Clean the Tops of Kitchen Cabinets doesn’t have to be a difficult or time-consuming chore. With a microfiber cloth, warm water, mild dish soap, and a little consistency, you can remove grease, dust, and sticky residue without damaging your cabinet finish. Even heavily soiled cabinet tops can usually be restored using gentle cleaning methods instead of harsh chemicals or aggressive scrubbing.
The real secret to How to Clean the Tops of Kitchen Cabinets is prevention. Simple habits like using your range hood, covering pots while cooking, dusting cabinet tops regularly, and replacing wax paper or paper liners every few months can dramatically reduce grease buildup. By adding these easy tasks to your regular cleaning routine, you’ll spend less time tackling stubborn grime and more time enjoying a cleaner, healthier kitchen.
Whether your cabinets are made of wood, painted MDF, laminate, or ther mofoil, following the safe cleaning techniques in this guide will help protect their finish, extend their lifespan, and keep your kitchen looking fresh for years. Once you master How to Clean the Tops of Kitchen Cabinets, you’ll discover that maintaining spotless cabinet tops is much easier than dealing with years of accumulated grease and dust.
FAQ’S…
What is the easiest way to clean the tops of kitchen cabinets?
The easiest How to Clean the Tops of Kitchen Cabinets method is to remove loose dust first, then wipe the surface with a microfiber cloth dampened with warm water and a few drops of mild dish soap. Dry the cabinet tops immediately to prevent moisture damage and streaks.
Can I use vinegar to clean the tops of kitchen cabinets?
Yes. A mixture of equal parts white vinegar and warm water can help remove light grease and sticky residue. When using How to Clean the Tops of Kitchen Cabinets with vinegar, always test it on a hidden area first, spray the cloth instead of the cabinet, and dry the surface thoroughly after cleaning.
What causes grease to collect on top of kitchen cabinets?
Cooking releases tiny airborne oil particles that naturally rise with warm air. These particles settle on high horizontal surfaces where they combine with dust and moisture, creating sticky grime. Understanding this process makes How to Clean the Tops of Kitchen Cabinets and preventing future buildup much easier.
Should I use commercial degreasers on cabinet tops?
Cabinet-safe degreasers can help remove heavy grease, but always choose products specifically labeled for finished kitchen cabinets. For routine maintenance, warm water and mild dish soap are usually all you need when learning How to Clean the Tops of Kitchen Cabinets safely.